Gunpla Build: RG 22 Sinanju MSN-06S (1/144): Leg Sub-assembly
Hey folks, welcome back!
Here's an update on my Gunpla build, I forgot how long these things take to hobby.
I've been approaching this kit from the most meticulous angle possible, i.e. cleaning each piece, then separately painting before re-assembling. As you can imagine, this process takes a bit longer than the good ol', "build it and paint it" method I normally use on my gaming miniatures. For what it's worth, I'm constantly struggling with whether I actually prefer this OCD-esque method of assembly, since so much of the Gunpla kit is obscured by other elements. Likewise, I don't really care about posability, since I think of these kits as more like statues than action figures. In the future, I will probably approach these kits with a more mixed philosophy (some parts separate, some parts posed and glued), but that's a problem for future me!
Anyway, first things first, let's paint some parts. Once (almost) all the pieces of the leg sub-assembly were cleaned and prepped, I primed them with my trusty Grey from Krylon's Color Master line. I find it works just as well as any specialty line and saves me a pretty penny along the way.


-Nick
Here's an update on my Gunpla build, I forgot how long these things take to hobby.
I've been approaching this kit from the most meticulous angle possible, i.e. cleaning each piece, then separately painting before re-assembling. As you can imagine, this process takes a bit longer than the good ol', "build it and paint it" method I normally use on my gaming miniatures. For what it's worth, I'm constantly struggling with whether I actually prefer this OCD-esque method of assembly, since so much of the Gunpla kit is obscured by other elements. Likewise, I don't really care about posability, since I think of these kits as more like statues than action figures. In the future, I will probably approach these kits with a more mixed philosophy (some parts separate, some parts posed and glued), but that's a problem for future me!
Anyway, first things first, let's paint some parts. Once (almost) all the pieces of the leg sub-assembly were cleaned and prepped, I primed them with my trusty Grey from Krylon's Color Master line. I find it works just as well as any specialty line and saves me a pretty penny along the way.

A leg panel freshly primed.

I then followed up with some Vallejo Model Air Red from my airbrush. In retrospect, I really should have lightened my grey-primed parts to a white, as red is notoriously difficult to paint evenly over darker primers. Regardless, I went ahead and, after three coats, re-learned a painful lesson.

All in all, the red coat of paint actually turned out alright with only minor pooling. I then decided to give these a dusting of white to provide a light base for my next coat of red (see, I learned something).

I'll be using more of Vallejo's Model Air line, once again through my unreliable airbrush. As mentioned above, the intent here is to provide an easy highlight which can be used to create a nice, bright, red when washed down.

A nice, clean dusting.

For my wash, I airbrushed some P3 Red Ink, as I remember it being extremely vibrant and providing good coverage.

As you can see, the airbrushed ink worked well. The white dusting is now blended using the red ink, providing nice highlights and edge rims to some of the larger features.

Here is a grey-primed endoskeletal piece. This won't really be visible once the armor is added, but screw it.

I gave the endoskeleton a coat of Vallejo Model Air Grey Blue for a nice base.

Voila, grey-blue'd.

Similarly to the red armor, I followed up with a highlight pass. As the base color is a dark, greyish blue, I used Sea Grey to provide a smooth transition.

Lovely! This is good enough, especially as it will never be visible. Parts that are visible will later be given washes to give them depth.

For the rocket nozzles, I didn't have a good place to connect with alligator clips, so instead I mounted them to a popsicle stick using masking tape. Quick 'm' cheap!
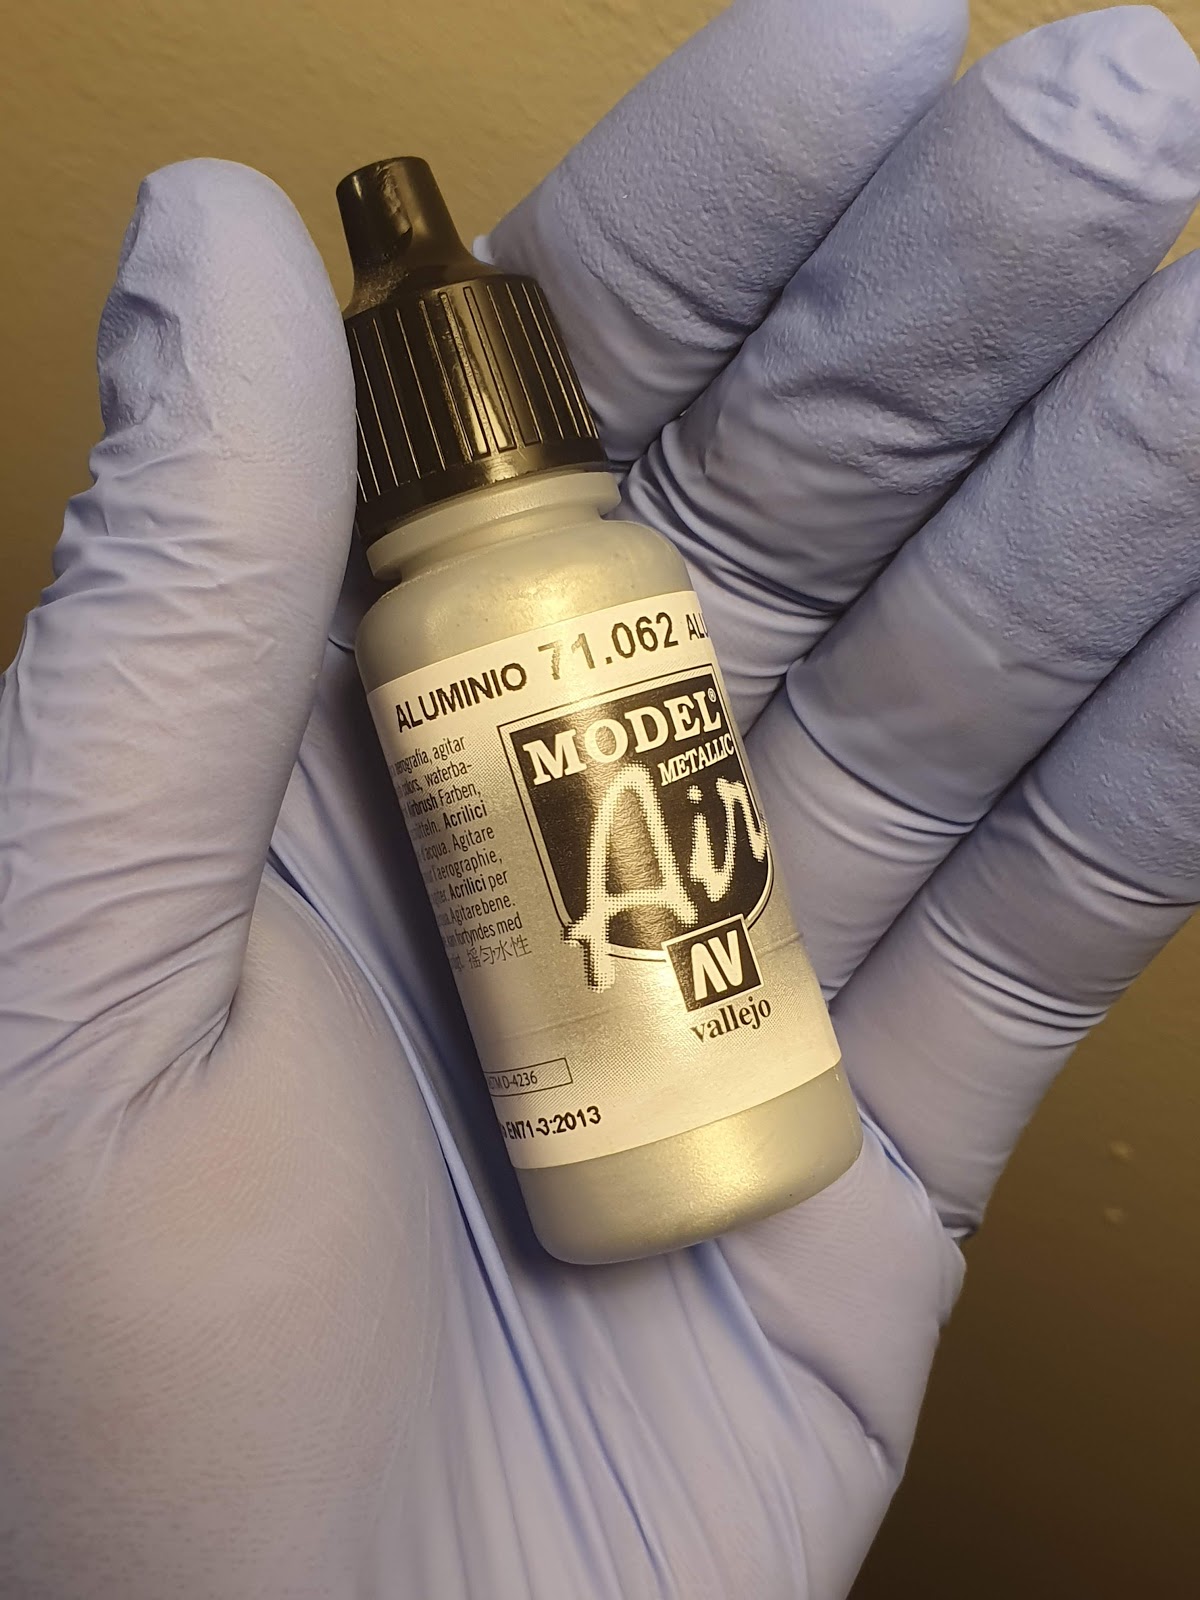
Once primed (once again grey), these were given a coat of Aluminum via airbrush. I plan on giving these some sweet heat discoloration, so I need a bright, clean base.

Look at these shiny little thrusters.

Washes and inks are honestly my favorite part of the hobby. To me, they always feel like a cheat code to skip a level or something. When used correctly, washes and inks are incredibly useful for adding detail, depth, color, etc to a miniature without laborious brush work. For my first wash, I'm using P3 Armor Wash. This ended up being a bit too liquid, as it beaded and ran. When given a little Mop Glo to break the surface tension, it worked fine.

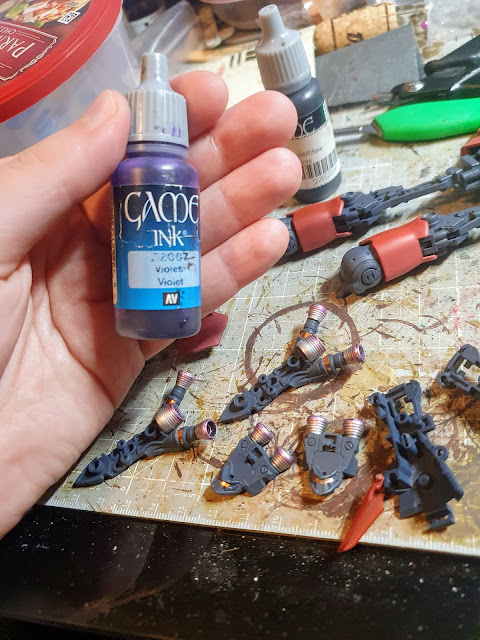
Next up, Vallajo Game Ink red. This was a trick I learned from ForgeWorld's Imperial Armour Masterclass: v. 1, which is hands-down my favorite hobbying book. It was the book that inspired me to get an airbrush to begin with. The red ink will provide part of the gradient my rocket nozzles will use to simulate heat discoloration.

Next up, a wash of violent to continue the heat discoloration.

Looking very nice.

Finally, a wash of black ink to finalize the effect. Each wash takes up less space, retreating towards the terminus of the nozzle'z thrust cone.

Looking very nice. Next up I'll be painting the black parts of the kit which are going to remain, well, black. Part of me wonders how much of painting Gunpla the same color as the underlying plastic is an exercise in insanity, but whatever.

Here's a black torso piece. It was primed grey after this photo was taken.

Initially, I decided to prime all the black parts grey, then airbrush them black. Then I started hating myself and instead just broke out the black primer.

Perfection.

Here's the final piece. Was this primed black, or primed grey and then airbrushed black? Can you tell? I can't and I was the one who did it.

The next color to paint was gold. These parts of the kit actually come with a nice, lustrous gold finish already, but of course I needed to prime and paint over it. This part got so frustrating I nearly cried and threw away the whole kit, but I'm an adult so I got over it.

Initially I primed these gold with this Rust-oleum metallic gold primer. What a HUGE mistake. This stuff never actually dries completely, instead leaving a tacky, sticky mess that can be scraped off with a fingernail. Even after giving coats of other metal airbrush paint, satin varnish, and even a hard coat of gloss varnish, this crap still was a gooey mess. I ended up throwing out the whole damned can, as I never want to see, let alone work with, this product again. After soaking the ruined gold parts in purple cleaner overnight and giving them a good toothbrushing, they came out pristine, but without their fancy reflective coat.

It was this color underneath the whole time.

Firs step, grey primer. You know the deal.

Second step, metallic base coat. I used chrome, rather than gold, as I've found gold to be too weak as a base color, requiring many, many coats.

Here's the chrome I used, unsurprisingly from Vallejo.
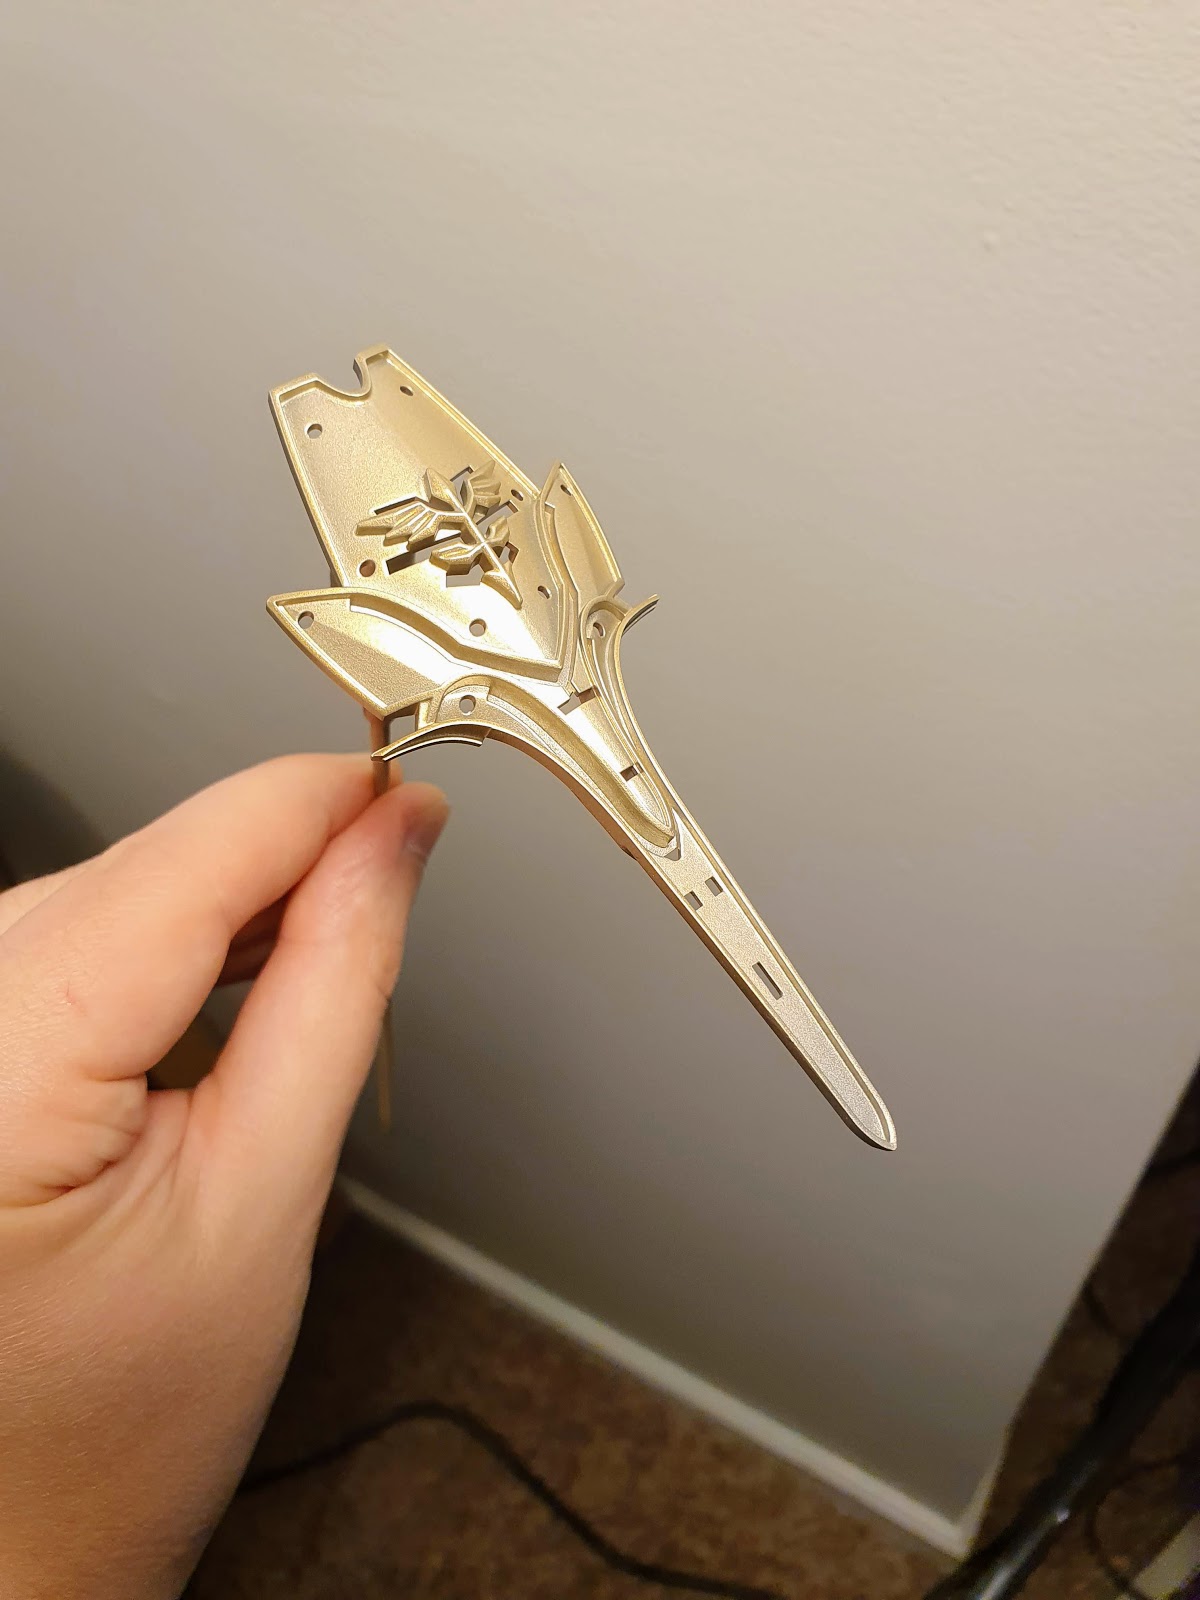
After three coats of gold through the airbrush, I've got these nice, electrum-colored gold pieces. Even with the chrome base, this gold still took a ton of coats. I'm thinking in the future I'll use yellow or orange underneath, but who knows.

Vallejo gold!

After much fiddling, crying, and delicate forcing, Here's where things "stand" right now. I still need to paint up the knee pads, but overall the legs themselves are done!


I still need to give these gams ink washes, but I'll need to give this a heavy satin coat first to protect the plastic and paint (oils are fun). Also, I'd like to assemble the whole thing first, so I can keep consistency between sub-assemblies. Another thing I learned over this process was how much I prefer wet transfers to stickers. This kit came with stickers (as it's really an action figure) and I do not like the thickness of their plastic. They don't respond well to micro sol and micro set, so curved surfaces are difficult, at best. Likewise, they are less forgiving than wet transfers and can trap gross stuff under their glue easily. I'm pretty excited to weather this guy, as he's a bit too clean for my tastes at the moment.
Stay tuned for more updates soon!-Nick


Comments
Post a Comment