Hobby Update: Warhammer 40,000 Iron Hands 003
Hello everyone, welcome back!


This blog post covers the final touches of my intercessor squad and primaris ancient, basing. I struggled quite a bit and experimented with several different products before settling on a final method, so let's get started!

For my basing, my objective was to passably match my new primaris marine bases with those of my original, firstborn marines. I immediately ran into some big issues, however.

An old, firstborn marine terminator from my initial force. Painted ca 2012
My first hurdle was to find a suitable crackle material. Previously, I had used, believe it or not, Martha Stewart's brand of crackle finish paste. Unfortunately, the old jail bird's product line was discontinued some time ago and my stash had dried into a solid rock within its packaging.
I first tried going to my local hobby stores and found nothing that fit my needs. After doing a quick Google search, I headed to Lowe's for some Valspar Crackle Paste. To my eternal misfortune, they instead had Crackle Medium, which is an entirely different entity altogether. After wasting an evening on the stuff, I decided to try another route.
I next hopped on Amazon and purchased some AK Crackle Effect for dioramas. Unfortunately, this product ended up being a huge waste.

Below are some experiments using the crackle effect. To the left is a thin coat, in the center a medium coat over gloss varnish, and to the right a medium coat over primer. The thin coat produced little to no cracks and the medium coat over primer created a toaster strudel. The gloss base had decent effect, but it created such fine cracks that I believe primer might have filled them in.

Damn it.
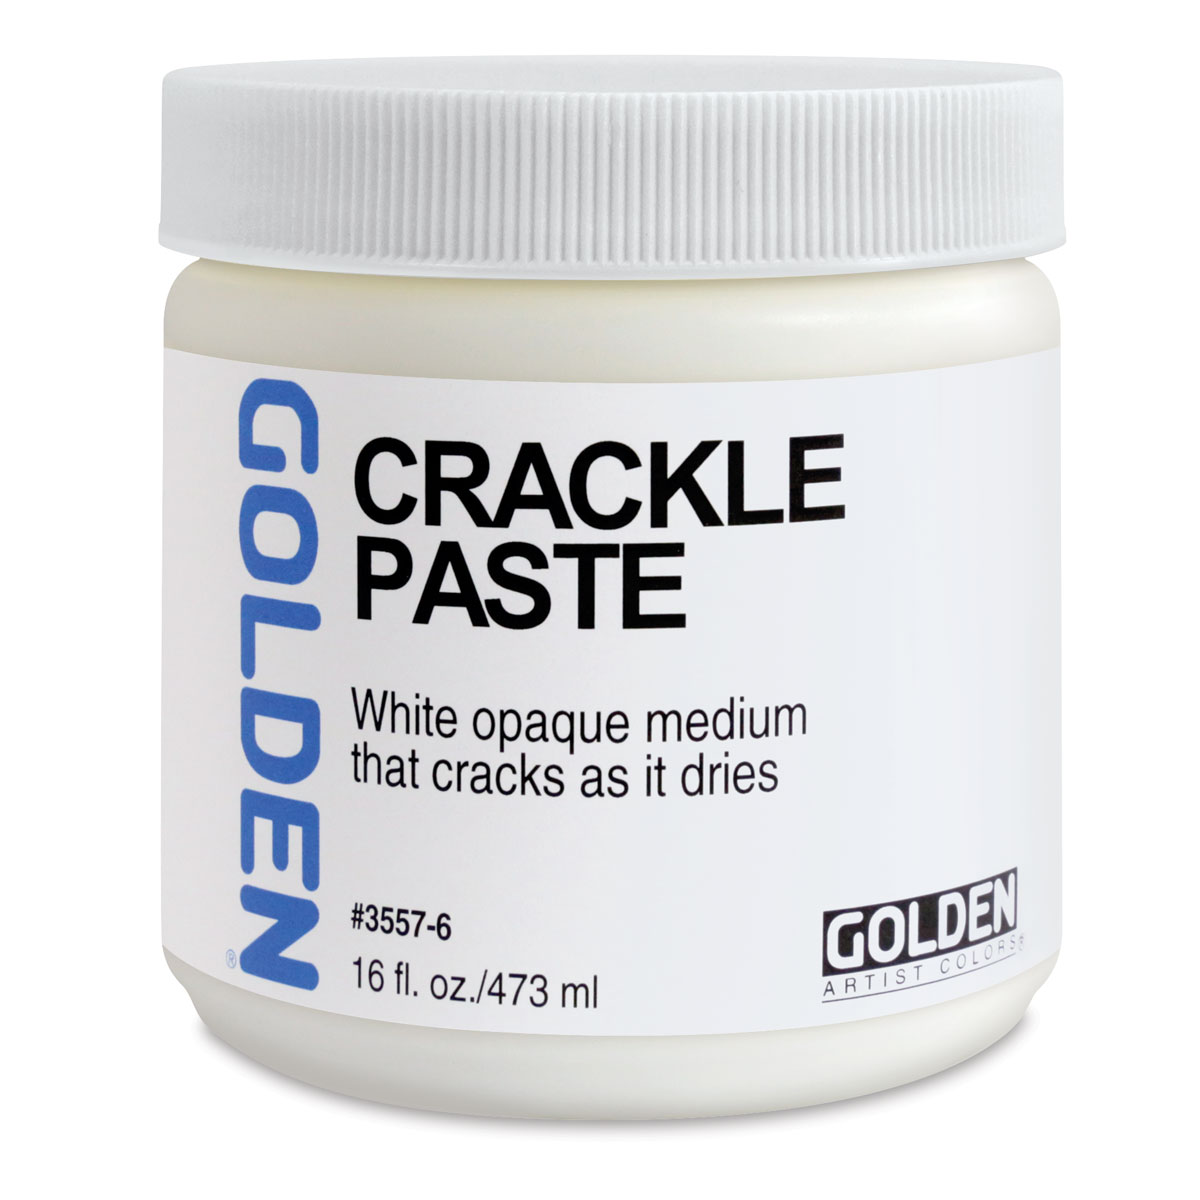
After much YouTube research, I went back to Amazon and purchased a tub of Golden Crackle Paste; the defacto non-GW internet favorite.
Here are some things I learned.
1. Do NOT use heat lamps or blow dryers to hasten the curing process- you will instead get completely smooth finishes. You MUST let this air dry.
2. Do NOT expect this to dry within the same hobby session. This stuff cures over 24 - 48 hours, so if you're in a rush you're also out of luck.
3. This stuff is not exactly easy to work with. It has a pretty thick consistency and isn't terribly easy to keep even on a base. If you're not careful, you'll get ridges and waves, which look weird.
Below are some different experiments using the crackle paste. From left to right: thinned paste on an unprimed plastic surface, medium coat on primed base, and thick coat on primed base. I wasn't thrilled with the outcome here and the time issue really bothered me, as I'm horribly impatient. I did manage to get cracks to appear, but they were fairly fine and thin. The thick coat worked best, but even then, my mini would end up standing on around 3mm of gunk, which looks weird. I think I might use this in the future for terrain or really large bases, but for single infantry, nah.

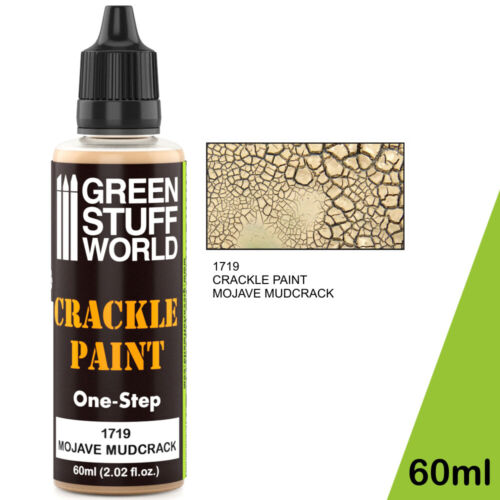
At some point on the fourteenth of July I panicked and purchased a bottle of crackle paint from Green Stuff World which had good reviews, but, due to international shipping delays it's still not here (today is the twenty-sixth of July). It might be great, but I have no way of knowing until the damned thing gets here.
Someday, you'll be mine.
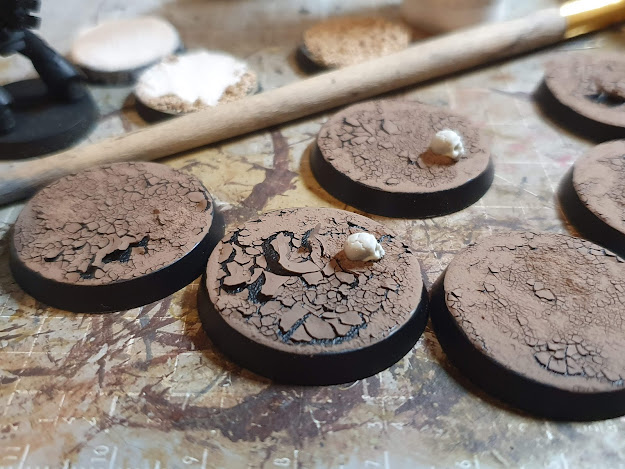
Remember how I mentioned I'm impatient? Well, I'm so impatient that I ended up running to my local Games Workshop and splurging on some Agrellan Earth and Agrellan Badlad. Some people have complained about the pricing and the flakiness of the Earth, but my babies need bases.

Come to papa, my little saucy minxes.
I can't lie, these took a little bit of experimentation to make workable. In addition to being an idiot, I'm also a perfectionist, a deadly combination. I ended up wasting five bases in failed attempts before something clicked and my brain realized the error of my ways. Rather than trying to use these out-of-the-bottle as intended, I decided to layer these and ultimately use primer as a sealant (the flaking concern is very real and problematic).
Fortunately, my rationale worked out, so here's how I made my bases.
Step 1: Apply some Agrellan Badland to an unprimed base. While it's still wet, apply Agrellan Earth and blend the two around the edges. Any characterful decorations, like skulls, sunken artifacts, etc should be super glued on before the Agrellan twins are used.

Step 2: The Agrellan Earth will peel back. If you go too thin, cracks of noticeable size will not appear, so you need to have patches of thicker paint. Some of these will be alright, but you're walking a very thin line between nice cracks and flaking paint.

Mon dieu! These flakes are legitimately an unsightly, delicate mess.
Fear not, there's a fix. My trick was to reapply the Agrellan Earth and Badland, using the two as a fixative to patch up the flaking sections. This might take one or two applications, so if things start looking "precarious" midway through drying, jump in and reapply. Unlike the Golden Crackle Paste, the Agrellan twins dry in about 30-60 minutes, depending on thickness, temperature, and humidity.

Much better. The extra layers of Agrellan Earth and Badland give the bases some interesting variation and add to their realism.
Step 3: Rocks! I felt my bases were a bit too flat, even with the addition of Agrellan Badland. I make sure to keep a small collection of plaster discarded from my various terrain casting project for this exact reason, since they make great rocks. Plaster is very absorptive (good for painting) but also a bit fragile (not great) so be careful when working with it.

These rocks were fixed using super glue. Once cured, I then used some Mod Podge to glue down a mix of Coarse, Medium, and Fine ballast (1:2:4 ratio) around the larger plaster rocks. This ballast will make the larger rocks seem more nestled into the environment, rather than an afterthought. After the Mod Podge had tried, I used some thinned down Agrellan Earth to help seat the plaster and ballast into the surrounding base. One trick I like to use in situations like this is isopropyl alcohol: by placing a drop on the ballast and plaster, the Agrellan Earth will easily flow into every nook and cranny, due to capillary action.

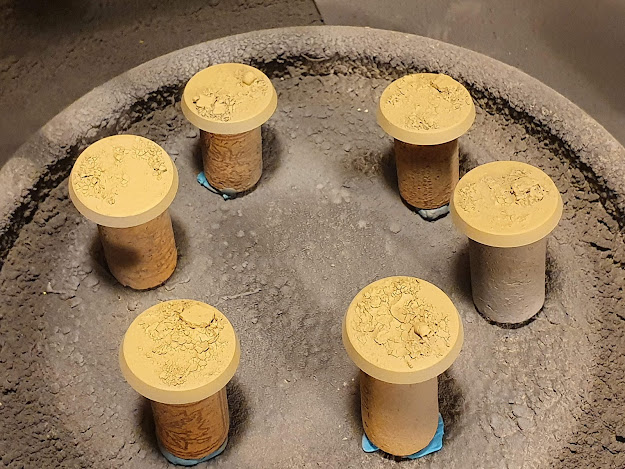
Nice, fresh bases. The alcohol and Agrellan Earth are still wet.

Here are the bases, now dried.
Step 4: Painting. I am ever weary of the Agrellan Earth flaking off, so primer seemed like a good way to hold this flighty paint down. Likewise, I needed to match these new bases to my old bases, so the darker brown of the Agrellan twins wouldn't work.
I first used grey primer, as we would be painting these a light tone.

Using my airbrush, I thinned down some matte latex house paint for three even coats. Way back in the day (ca 2013), I had a hardware store match the colors of several acrylic paints which I consistently used for basing. I still use these paints to this day they've saved me tons of money painting tables and large terrain pieces. When applying latex house paint via airbrush, make sure to use thinner and flow improver.

I next washed the bases in some thinned Earth Undercoat from Woodland Scenics, my favorite basing pigment. This stuff is just ace and a cinch to use.

Once the Earth Undercoat had dried, I drybrushed the bases back up with the same latex house paint used in the airbrush.

Next, a drybrush of Vallejo Silver Grey 70.883. This drybrush helped bring out some of the details in the raised areas.

Time for some detail work. Using Silver Grey again, I picked out the two skulls. Once dried, these were given a wash of Army Painter Soft Tone. The dried Soft Tone was then followed my a re-highlight using Silver Grey and an extreme highlight of White 70.951.

Looking fresh to death.
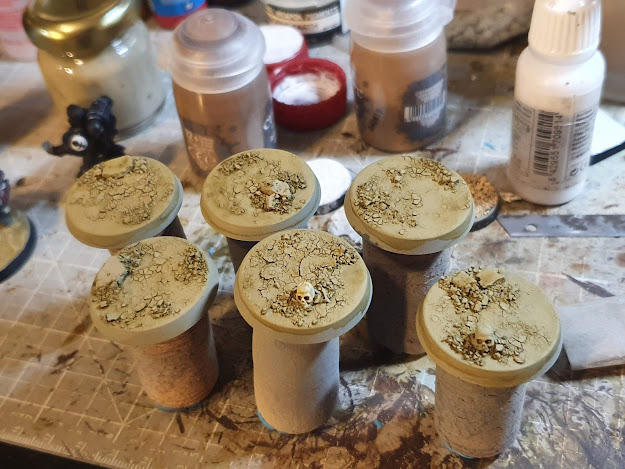
To give a dusty appearance, I used some Burning Sands pigment from Secret Weapon. This was applied with a crappy brush and then smeared around using the same brush. Lastly, they were dusted off using a larger, soft drybrush.

Done and dusted.
Pigments are tricky to work with, because they do rub off. This isn't fantastic for gaming miniatures, so fixative is required. However, most fixatives will completely destroy the effect of the pigment, so selecting the right tool is important. Instead of using my normal matte varnish spray, I sealed these bases in using Aqua Net hairspray.

Before Aqua Net.

After Aqua Net: not bad!
Lastly, these bases needed their rims cleaned up. I used simple Black 70.950 from Vallejo. This is the most nerve wracking part of the whole process.

Ready for some minis!
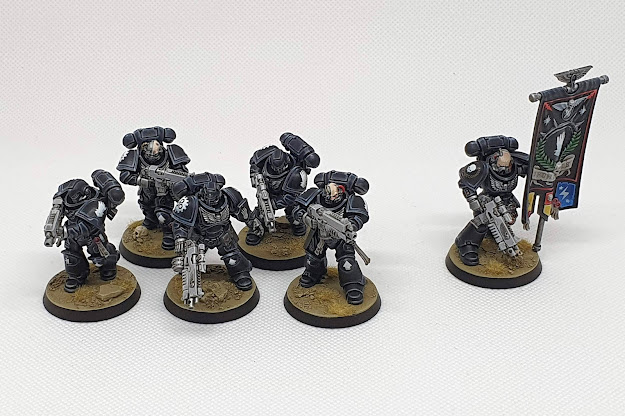
Step 5: Adding the minis and grass tufts. After removing the minis from their corks, I glued them down to their bases using Loctite Gel Super Glue in the "Gel Control" bottle. Grass tufts were created using a mix of static grass from Silflor and some Modge Podge.


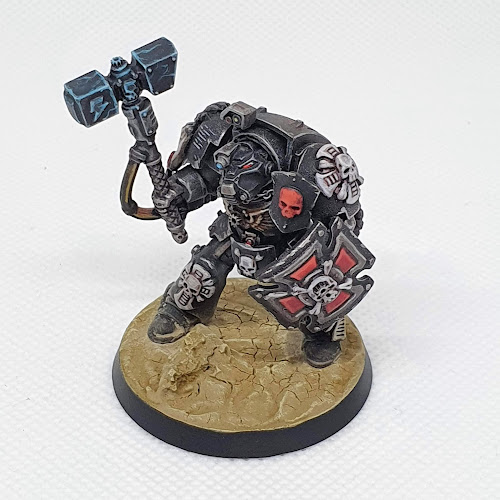
Even the firstborn terminator feels right at home. Mission accomplished!
Hopefully you've found this blog entertaining and might have even learned something. I'm really happy with how these guys turned out and am already starting my next squad of marines (they will be Hellblasters). My goal is to complete all the marines from the Dark Imperium boxed set before starting on my Indomitus minis, which are arriving tomorrow, but time will tell. I still have a bunch of guys to paint, so expect more updates soon.
-Nick


Comments
Post a Comment